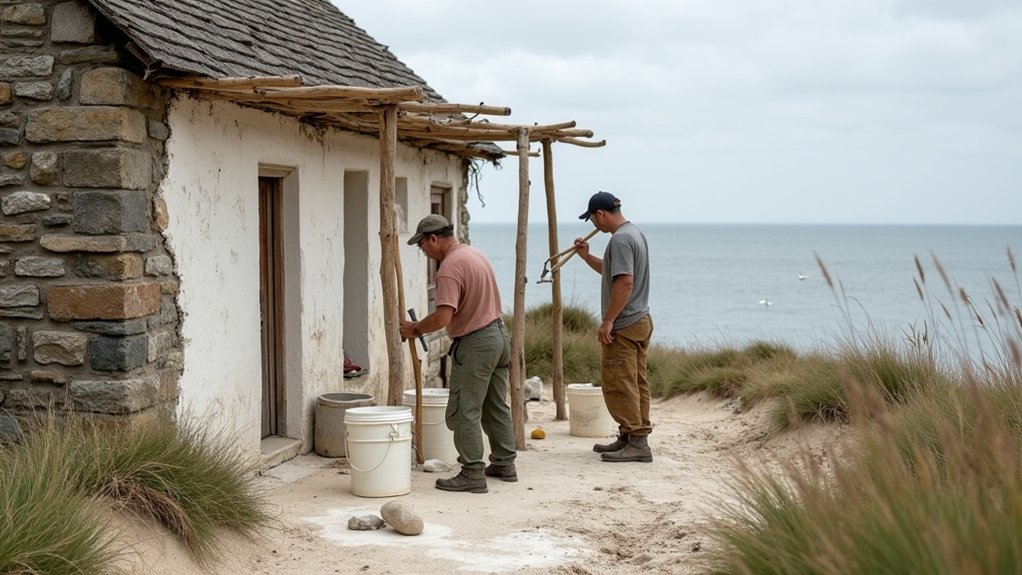
You start by checking whether the coastal wall’s cracking, salt bloom, and damp patches come from trapped moisture, not “old age”. When you find hard cement repairs bridging joints and sealing the stone, you strip them back and re-wet the substrate. Then you choose a compatible lime—NHL where exposure is fierce, putty where the fabric is softer—before scratch coats, fine plaster, and limewash go on under hessian. The sea air won’t forgive the next step…
Key Takeaways
- We began by mapping damp bands, spalling, hollow patches, and salt crystallisation across splash zones, parapets, and chimneys.
- We confirmed moisture and wall build-up using carbide or gravimetric tests and checked mortar hardness to specify compatible lime repairs.
- We carefully cut out proud, hard cement patches with hand tools, then brushed and vacuumed joints without damaging brick or stone edges.
- We applied breathable lime mortars and plasters in thin coats on dampened masonry, using scratch keys, firming times, and hessian curing protection.
- We timed work for mild, settled weather, maintained airflow under coverings, and avoided over-wetting, driving rain, and rushed drying to prevent failure.
Diagnose Coastal Wall Damage (and If Lime Is Right)
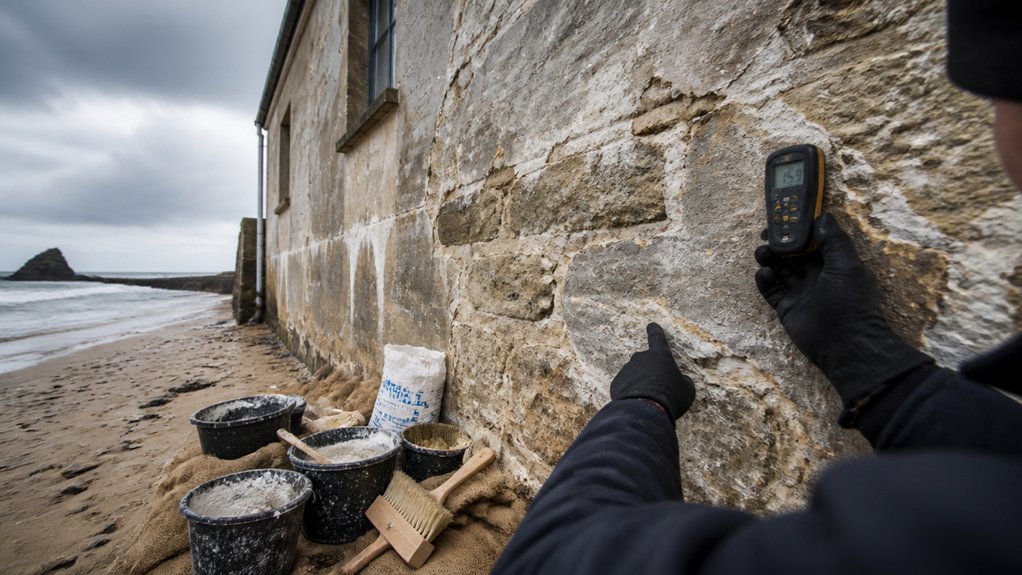
Because salt-laden winds and driving rain hit coastal cottages harder than inland houses, you’ll want to diagnose the wall’s failure before you reach for lime.
Start outside: map damp bands, spalled arrises, hollow patches, and powdery joints. Look for Salt damage—crystallised salts forcing faces off brick, stone, or lime render—and note whether it concentrates at splash zones, chimney stacks, or parapets.
Check for wind erosion on exposed gables: rounded pointing, pitted stone, and widened joints that funnel rain inward.
Inside, trace tide marks, mould, and friable plaster; then measure moisture with carbide or gravimetric sampling, not just an electronic meter.
Confirm the wall’s build-up and finish, and test existing mortar hardness.
If the substrate needs vapour-permeable, sacrificial repair, lime’s usually appropriate here.
Remove Cement Repairs to Restore Breathability
Start by spotting cement patching on your coastal walls—look for hard, smooth, grey ribbons that sit proud of the original masonry and trap damp at the edges.
You’ll then cut it out carefully with hand tools, easing it away from bricks or stone so you don’t spall faces or widen joints.
Once it’s gone, you’ll brush out salts and loose grit, lightly mist the substrate, and leave a clean, open key ready for a breathable lime base.
Identify Cement Patch Areas
Where do those hard, grey patches hide on a coastal cottage? You’ll spot them where earlier “repairs” fought the sea air: around window reveals, along plinths, at parapet edges, and beside downpipes. Start cement patch identification with your eyes and fingertips. Cement looks darker, smoother, and more uniform than lime; it often forms sharp arrises and hairline cracking at the junction with softer masonry.
Next, carry out coastal wall analysis: map every patch on an elevation sketch, noting exposure, salts, and damp staining. Tap lightly; cement rings, while lime sounds duller. Check for trapped moisture signs—spalling brick faces, blistered paint, and persistent algae. Photograph each area with a ruler so you can compare changes and plan consistent lime reinstatement later.
Safely Remove Cement Mortar
With your elevation sketch and photos showing exactly which grey cement patches are doing the damage, you can now take them out in a way that protects the original brick, stone, and soft lime beneath.
Start by isolating the repair: mask adjacent arrises, and work from the centre of the cement toward the edges to avoid spalling.
For Cement removal, use hand tools first—plugging chisel, small club hammer, and a stiff mortar rake—keeping the blade parallel to the joint.
If you must use a multitool, choose a thin carbide blade, keep revs low, and stop frequently to check depth.
Clear debris with a soft brush, never a wire wheel.
You’re aiming for clean, sound edges that set up Breathability restoration, without widening joints or bruising faces.
Prepare Breathable Lime Base
Once the cement repairs are out, you need to re-establish a breathable lime base so the wall can manage moisture in the way the original cottage fabric intended. Brush back to sound stone or brick, rake joints to a consistent depth, and vacuum out dust; any grit left behind will weaken bond.
Dampen the masonry with clean water until it’s matt-dark, not glistening, so the lime won’t flash-dry in salt-laden sea air.
For Lime preparation, blend a feebly hydraulic lime or lime putty with sharp, well-graded sand, matching historic texture. Push a tight scratch coat into joints, then comb it for key.
Keep edges feathered to avoid hard lines, and protect with hessian, misting lightly to cure into a durable, breathable surface.
Repoint With the Right Lime Mortar (Nhl Vs Putty)
Although it’s tempting to grab whatever bagged mix the builder’s merchant has in stock, repointing a coastal cottage demands a lime mortar that matches the original fabric and the exposure you’re dealing with. Start by checking what’s there: soft, friable joints usually indicate lime putty; harder, moderately set joints may suit NHL.
For wind‑driven salt spray, you’ll often choose NHL 3.5 for durability, but keep it weaker than the stone or brick to protect the arrises. Prioritise Mortar compatibility: match colour, aggregate size, and permeability so moisture can escape.
During Lime mixing, use well‑graded sharp sand, measure consistently, and knock up to a workable, cohesive mix. Rake out gently, dampen, pack firmly, and finish slightly recessed.
Apply Lime Plaster in Base and Finish Coats
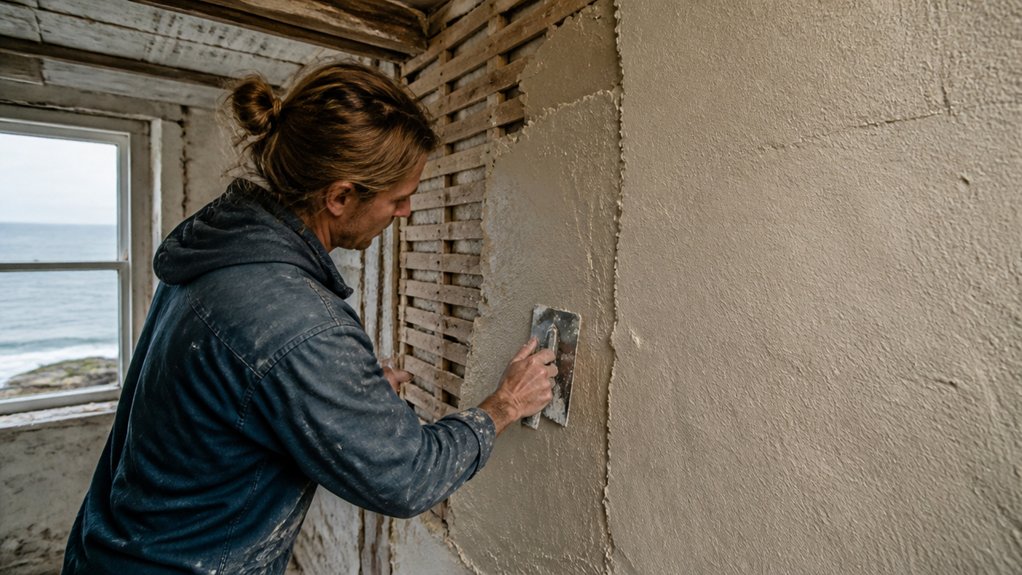
You’ll start the base coat by damping the masonry, pressing the lime plaster firmly into the substrate, then scratching it to give a sound key for the next lift.
Keep your coats thin and even, allowing each to firm up under coastal conditions before you move on.
For the finish, you’ll work a tight skim and burnish with a clean trowel as it picks up, closing the surface without over-polishing so the wall still breathes, as it should in a UK heritage cottage.
Base Coat Application Steps
Before the seaside air has a chance to lift salts to the surface, get your base coat on promptly and methodically so the wall can start breathing again.
Dampen the masonry to a matt sheen; don’t leave it dripping.
Knock up your Lime mix until it’s creamy and cohesive, then load the hawk and trowel.
Use traditional Application techniques: press the plaster firmly into joints, then spread to 8–10mm, keeping an even face.
Work in small bays, always maintaining a wet edge.
Scratch the surface with a devil float or lath scratcher to key the next coat, but don’t tear it.
Protect from wind and sun with hessian, and mist lightly as needed.
Let it firm up, not dry out, before progressing.
Check corners and reveals for full coverage.
Finish Coat Burnishing Tips
Once the base coat has firmed up and taken its initial set under hessian, you can turn to the finish coat and the burnish that gives a coastal cottage its soft, dense, traditional face. Keep the mix fat and fine, then lay on 2–3mm with a stainless trowel, closing it up as it picks up.
- Time it right: start finish coat burnishing when the surface dulls and resists a fingertip, not when it’s wet or fully hard.
- Mist, don’t soak: use a plant mister to keep the face workable; salt air and draughts can flash-dry edges.
- Work in passes: trowel, then lightly polish with a damp sponge float; repeat to tighten pores and honour heritage lime finish techniques.
Limewash for Salt, Wind, and Rain Protection
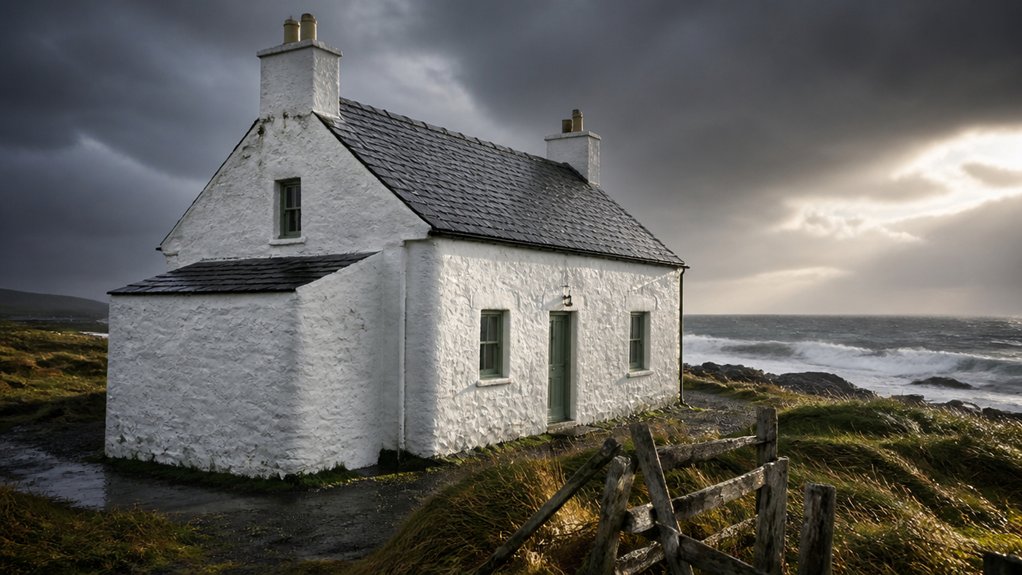
How do you keep a coastal cottage’s walls breathable while they’re battered by salt spray, driving rain, and constant wind? You reach for limewash: it sheds water yet stays vapour‑open, so the masonry can dry instead of trapping damp behind a modern film.
You apply it in thin, well‑brushed coats so it keys into the lime finish, binding to the surface rather than sitting on top. That micro‑porous layer improves salt resistance by letting crystallised salts migrate outward, where they can weather away without bursting the render.
It also adds wind protection by tightening the skin of the wall, reducing surface erosion at exposed gables and chimney stacks. Choose traditional tallow‑free mixes for listed work, and keep details crisp around quoining, drip lines, and sills.
Cure Lime in Sea Air: Timing, Shielding, Mistakes
Limewash will tolerate a coastal battering only if the coats underneath have cured properly, and sea air makes that curing less forgiving. You’ve got to pace the work to the weather, not the diary: damp gusts slow carbonation, while salty spray can crust the surface and trap moisture.
- Time it right: apply in mild, settled spells; let each coat firm up before the next, and allow longer Lime curing than inland.
- Shield it: rig hessian and soft netting on scaffold; keep sun and wind off, but don’t seal it tight—airflow matters.
- Avoid common errors: don’t over-wet in Sea air, don’t lime into driving rain, and don’t rush with heaters; you’ll get powdering, crazing, and early wash-off.
Conclusion
By stripping back hard cement and letting the walls breathe again, you’ve brought this coastal cottage back from the brink. You’ve repointed with the right lime, built up base and finish coats, and sealed it with limewash that sheds salt-laden weather like a good waxed jacket. You’ve cured it properly—watching wind, damp, and temperature, keeping hessian on, misting when needed—so the fabric stays sound, and its historic character endures.
About the Author