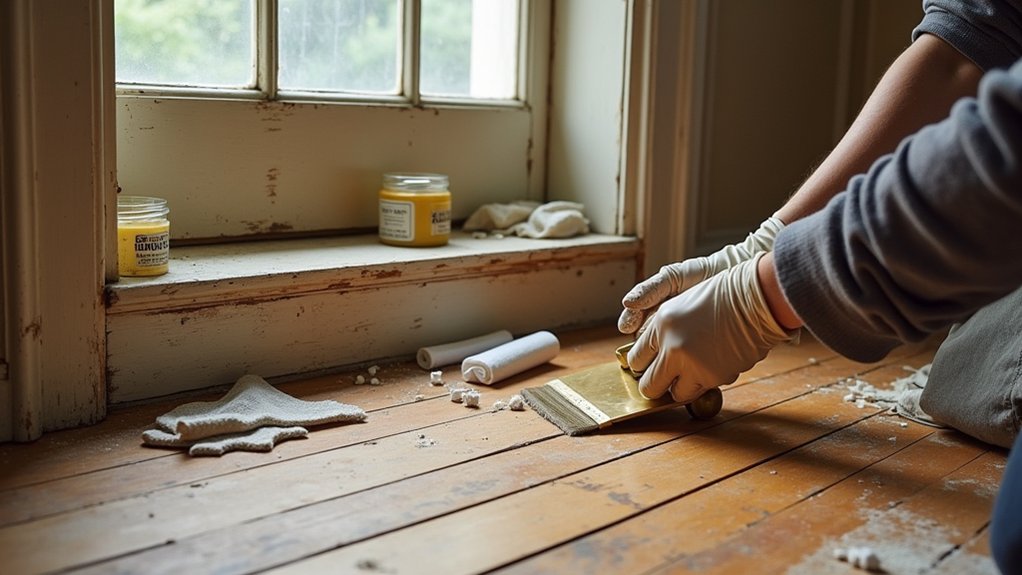
You’re about to learn that restoring period woodwork isn’t a quick strip-and-paint job—it’s a sequence of careful calls. You start by inspecting every casing, baseboard, and rail, documenting profiles and damage, and testing for lead and existing finishes so you don’t erase history by accident. Then you clean grime before you touch strippers, stabilize loose joints, and plan repairs that match the original timber and tooling marks. Next comes the part most people rush…
Key Takeaways
- Document every trim piece with photos, profile notes, and damage mapping; prioritize moisture fixes and stabilization before cosmetic restoration.
- Identify wood species and existing finish using grain inspection and solvent spot tests in hidden areas to choose compatible cleaning and refinishing methods.
- Clean gently with mild degreaser, minimal water, and careful drying; mask adjacent surfaces and use light scraping or sanding without flattening carved details.
- Remove paint/finish in small sections with low-odor strippers and wet methods; assume pre-1978 coatings contain lead and use HEPA containment.
- Repair with matching wood splices, traditional filler or epoxy as appropriate, then apply period-appropriate finish and sheen, protecting high-touch areas for longevity.
Inspect Period Woodwork: Damage, Lead Paint, Priorities
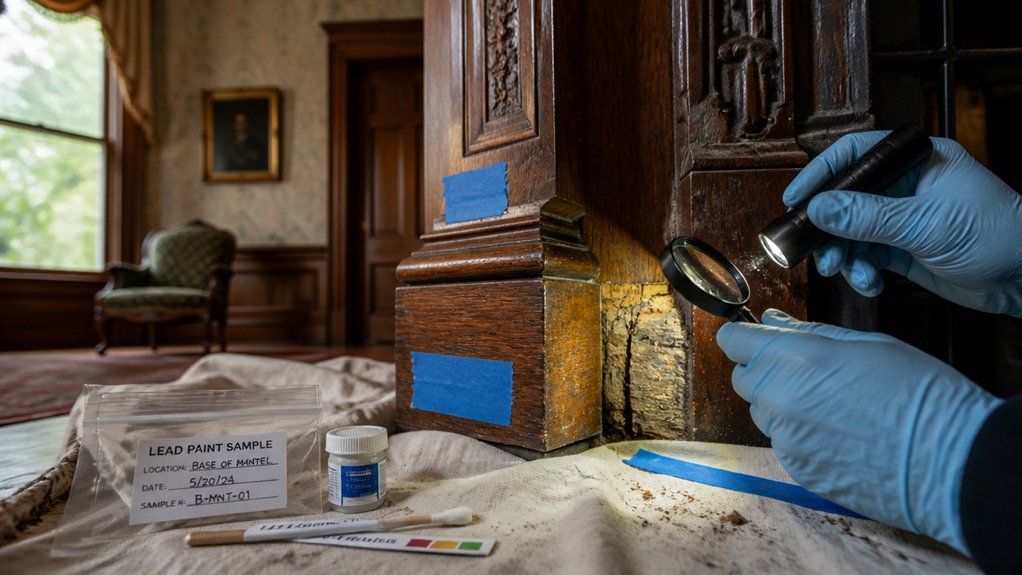
Before you pick up a scraper or sander, walk the house and inspect every piece of period woodwork—baseboards, casings, doors, mantels, and stair parts—as if you’re documenting artifacts. Note profiles, joinery gaps, missing rosettes, dents, burns, water staining, insect holes, and past repairs that altered edges. Photograph and label locations so you can keep Historical authenticity when you reassemble or patch.
Treat any pre-1978 coating as suspect: don’t dry-sand, don’t heat-gun blindly, and don’t sweep dust. Use Safety precautions—P100 respirator, disposable coveralls, taped plastic isolation, wet wiping, and HEPA vacuuming.
Then set priorities: stabilize loose trim, stop moisture sources, protect high-touch handrails, and postpone purely cosmetic work. Flag areas needing carpentry before finishing so you don’t redo prep later.
Identify Timber and Existing Finish (Quick Tests)
Although old trim can look uniformly “brown” under a century of shellac and grime, you’ll get better restoration results if you quickly identify both the wood species and the existing finish with a few low-risk spot tests in an inconspicuous area (inside a closet jamb, behind a door stop, under a stair tread lip).
First, study Wood grain with a raking flashlight: tight, even pores suggest maple; ring-porous bands point to oak or ash; soft, straight grain hints pine or fir, common in late-Victorian millwork.
Then gauge Finish sheen and film thickness by touch and reflected light.
- Dab denatured alcohol: tacky means shellac; no change suggests varnish.
- Try mineral spirits: wax softens and smears; lacquer stays hard.
- Use a wet cotton swab: tannin bleed hints oak; resin scent suggests pine.
Clean Grime First, Then Strip Paint Safely
Before you strip anything, you’ll degrease the woodwork to lift decades of soot, wax, and hand oils that can block removers and grind grit into the grain. You’ll start with the mildest cleaner that works, rinse lightly, and let the surface dry so you’re not sealing contaminants under softened paint.
Then you’ll choose a gentle, low-odor stripper suited to old growth wood and historic finishes, working in small sections and scraping with plastic or a sharp card to avoid gouges.
Degrease Before Paint Removal
Even if you’re enthusiastic to get to the stripper, start by cutting through the decades of hand oil, smoke residue, and kitchen grease that cling to old trim and doors. Grease blocks paint adhesion and can smear contaminants into pores, complicating later work. In many period homes, your first wipe-down also helps you manage Lead paint dust by keeping surfaces damp and residues contained.
- Mix a mild degreaser in warm water; avoid soaking joints, veneer edges, or open end grain.
- Scrub with a nylon pad or natural bristle brush, working with the profile, then rinse lightly and towel dry.
- Finish with a clean-water wipe and let the wood air-dry fully before any sanding, patching, or testing.
You’ll reveal crisp details, sound joinery, and the true condition of earlier finishes.
Use Gentle Paint Strippers
Once the surface is clean and dry, you can strip paint without grinding historic profiles into dust by choosing the mildest remover that’ll do the job. For most period trim, start with a low-odor, water-rinseable gel or a soy/citrus paste; they cling to moldings and reduce gouging from aggressive scraping.
Brush it on thick, cover with plastic to slow evaporation, and let dwell per the label. Lift softened layers with a plastic putty knife, working with the grain and stopping at crisp details. Rinse or wipe neutralizer as required—residue can sabotage primers later.
In your surface preparation, test small areas, change blades often, and contain debris; older paint may include lead, so use PPE and HEPA cleanup. This keeps paint removal controlled and reversible, historically respectful.
Repair Period Woodwork: Filler, Epoxy, Splices, Joints
Once you’ve cleaned and stripped, you can assess what’s truly missing: shallow checks and nail holes that suit a traditional filler, versus punky or load-bearing loss that calls for a consolidating epoxy.
You’ll get a longer-lasting repair when you splice in matching species and grain, keeping the patch small, square, and hidden on shadow lines where period profiles forgive progressions.
When joints have opened, you’ll restore strength by re-gluing and pinning where appropriate instead of smearing surface fixes that fail with seasonal movement.
Choosing Filler Or Epoxy
- Match filler chemistry to your topcoat (shellac, oil, paint).
- Test tinting on scraps under the same light.
- Seal porous surrounding wood to prevent halos.
Splicing And Joint Repair
Filler and epoxy handle shallow losses and surface checking, but when rot has eaten past the profile or a joint has gone slack, you’ll get a longer-lasting repair by cutting back to sound wood and splicing in a matching piece. Saw a clean, square shoulder or a shallow scarf so the patch keys in and resists shear.
Match species, grain direction, and growth-ring orientation; for wide profiles, build the patch with timber laminations to mimic old stock and reduce seasonal movement. Dry-fit, then glue with hide glue where reversibility matters, or a high-quality PVA for hidden work.
Clamp across cauls to protect mouldings. For joint stabilization, re-pin loose mortise-and-tenons with hardwood pegs, then plane and re-profile flush. Prime end grain before paint.
Match Missing Mouldings With Templates and Sources
Because original profiles rarely match modern “close enough” trim, you’ll get the best restoration by capturing the exact moulding shape before you buy or cut anything. Make Matching templates from an intact section: press a profile gauge into the detail, trace it onto card, then transfer to thin plywood for a durable pattern. Mark spring angles and sightlines so the piece sits true against plaster and jambs.
When sourcing mouldings, start where period work survives: salvage yards, architectural reclamation dealers, and local mill shops that grind custom knives. Bring your template, wood species notes, and measurements between quirks.
- Profile gauge plus hardboard template for repeatable checks
- Photos with a ruler, noting corner returns and miters
- Label each room’s profile; “similar” often isn’t compatible
Prep and Sand Period Woodwork Without Losing Detail
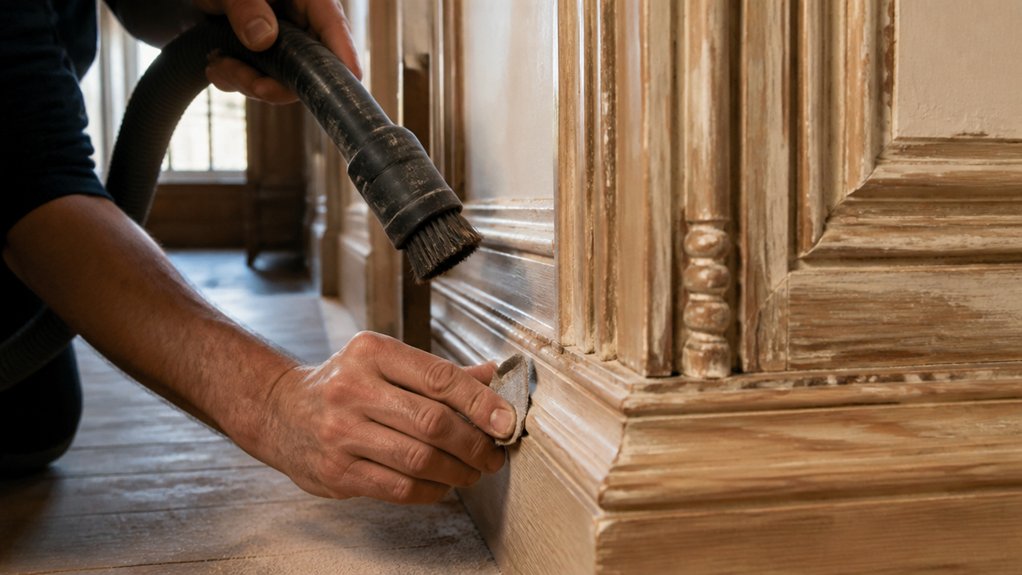
Before you touch sandpaper, prep period woodwork as if you’re conserving a carved surface, not flattening a board. Vacuum dust, then wipe with mineral spirits to reveal dents, old shellac ridges, and glue smears. Pull hardware, set nails, and mask adjacent plaster. Test for lead paint on trim; if present, use wet methods and HEPA capture.
Start with the gentlest cut: a sharp cabinet scraper or gray abrasive pad on profiles, not coarse paper. On flats, sand with the grain using 180–220 grit on a cork block; keep edges crisp by stopping short and feathering by hand. Use folded paper and shaped blocks for coves.
You’re aiming for Woodgrain enhancement, not erasing tool marks that help guide historic staining later.
Choose an Era-Right Finish for Restored Woodwork
Once the surface reads clean and crisp under raking light, you can choose a finish that matches the woodwork’s era and the room’s use rather than defaulting to modern polyurethane.
Early 19th‑century trim often suits oil and wax that deepen color and keep Vintage patina visible; later Victorian interiors may carry shellac’s warm, repairable gloss. Test in a closet first, since old wood can blotch.
- Use dewaxed shellac as a reversible sealer when you’ll topcoat or need stain control.
- Pick oil/varnish blends for hand-rubbed sheen on doors and rails that get touched daily.
- Reserve Modern lacquer for late‑20th‑century work or painted trim where quick build matters.
Match sheen to historic photos: flat in workrooms, satin in parlors.
Conclusion
You’ve inspected, identified, cleaned, stripped, repaired, matched, and sanded—now let your finish seal the story. Choose shellac, oil, or wax that suits the period, then apply thin, patient coats to protect crisp corners and carved contours. Keep records, save samples, and store spare moulding for future fixes. With careful choices and consistent craft, you’ll preserve patina and proportion, not polish them away—steady, sympathetic work that keeps your rooms warm, worthy, and wonderfully whole.
About the Author