You probably don’t know that most flint boundary walls fail from trapped moisture and weak lime, not age. You start by checking bulges, washed joints, and soft hearting, then dismantle in short, braced runs so nothing avalanches. You salvage every flint, clean and sort it, and rebuild on firm, well-drained footings with proper lime mortar, pinning and packing each face. The real test comes when you set the coping…
Key Takeaways
- After rain, we diagnosed failure by checking washout, bulging faces, soft mortar, coping leaks, and signs of settlement.
- We dismantled the wall in controlled bays, starting at the coping, propping weak sections, and salvaging flint without breaking usable faces.
- We sorted reclaimed flint by use, cleaned gently to preserve patina, and stored it labeled on pallets under breathable coverings.
- We rebuilt on undisturbed subsoil with an appropriate footing and added drainage measures like gravel strips, land drains, and weepholes.
- We laid flint in lime mortar with tight hearting and pinning, then pointed and capped with proper falls and careful curing.
Diagnose Flint Boundary Wall Failure (Repair vs Rebuild)
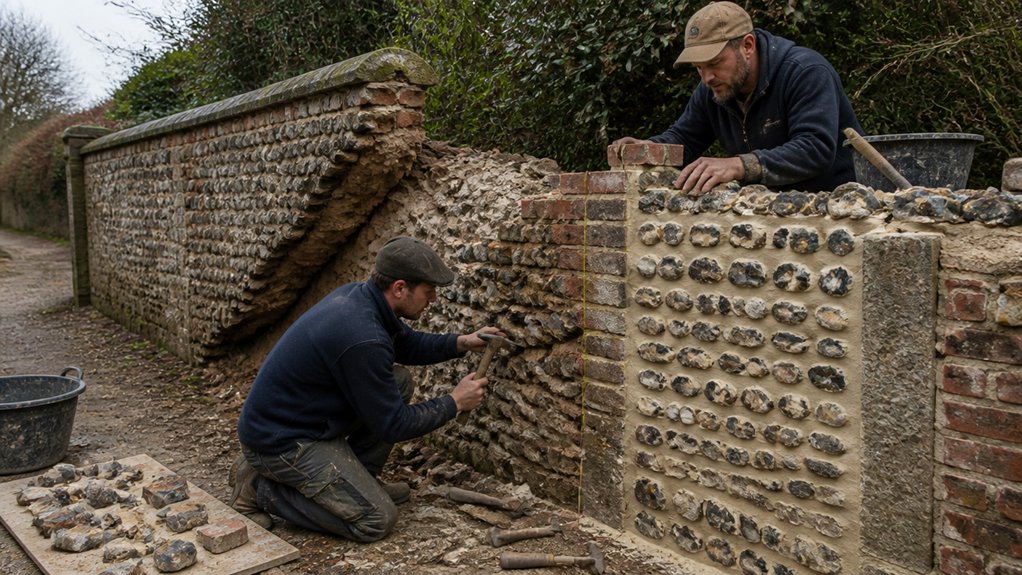
Before you start pulling flints out and mixing lime, you need to work out why the boundary wall’s failing and whether it’s actually salvageable.
Walk the run after rain: look for washout at the toe, soft mortar, bulging faces, and leaning piers. Check the copings—failed haunching lets water track down, driving frost damage. Probe joints with a knife; if mortar powders or sounds hollow, it’s likely cement trapping moisture against flint.
Inspect foundations: tree roots, road vibration, or a saturated trench can cause settlement.
For Historical preservation, record bond patterns, local flint type, and any brick quoins.
Material selection starts here: match lime strength, aggregate, and flint grading to the original.
Decide repair if movement’s local; rebuild if the core’s gone.
Dismantle the Flint Boundary Wall Safely and Save Stone
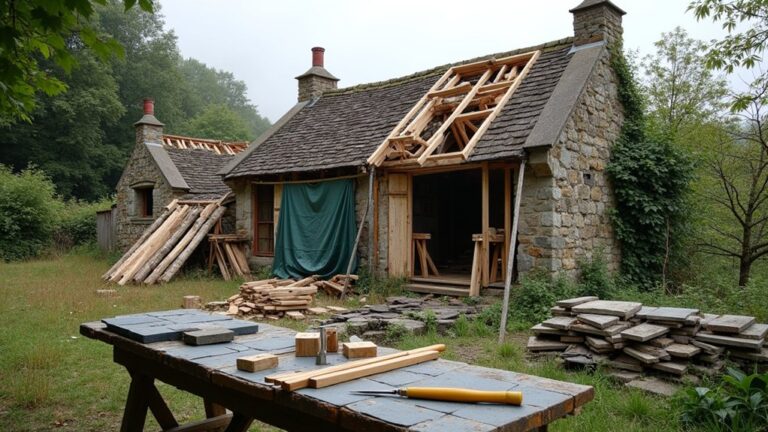
Once you’ve decided the wall’s beyond a local repair, dismantle it in a controlled run so you don’t turn reusable flint and brick into hardcore.
Set a stable working zone with barriers, eye protection, gloves, and a hard hat, and work in dry weather to reduce slips.
Start at the top, removing coping and any loose brickwork by hand, then ease out flints with a small bolster and club hammer, keeping your blows light to avoid shattering faces.
Don’t undermine big panels; take the wall down in bays, stepping back the height as you go.
Support any leaning sections with timber and props before you touch them.
Keep the footprint tidy to prevent trips and safeguard historical preservation through measured, repeatable craftsmanship techniques.
Sort, Clean, and Store Reclaimed Flint for Reuse
Although it’s tempting to chuck all the reclaimed flint in one heap, you’ll get a far better rebuild if you sort it straight away, then clean and store it so the faces don’t get bruised and the sizes stay consistent.
Start by grading: knapped face flints for the visible work, whole nodules for hearting, and odd shards for packing.
Keep an eye on Flint sourcing so you don’t mix in modern imports that jar with local colour and patina—vital for historical preservation.
- A tarp on level ground, with crates labelled “face”, “heart”, “pack”
- Buckets of clean water, stiff brush, and a timber scraper (not metal)
- Pallets under a breathable sheet, stacked by size, kept frost-free and dry
Set Solid Footings and Drainage for a Flint Wall
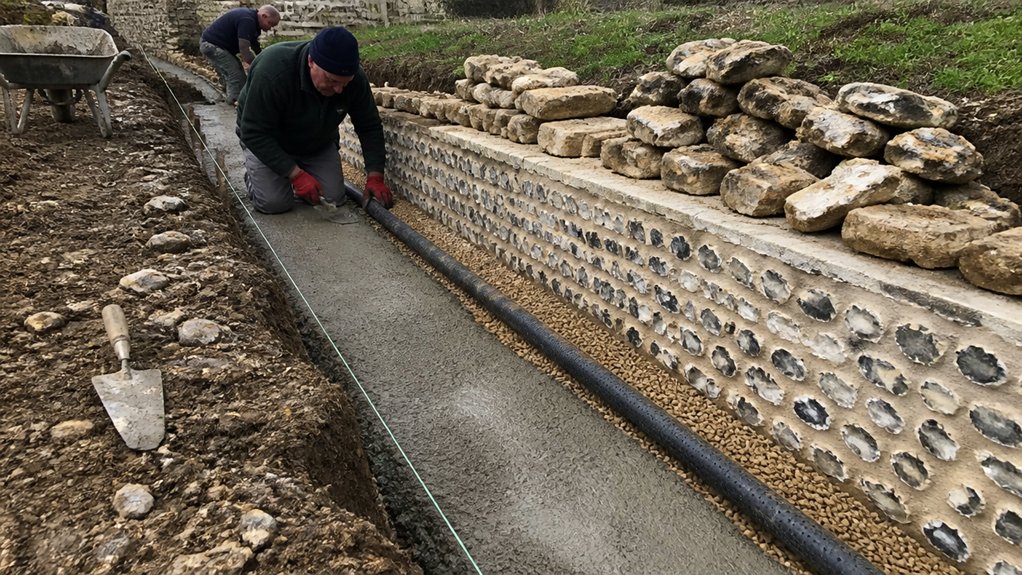
If you want a flint boundary wall to stand for decades rather than slump after the first wet winter, you’ve got to start with firm, well-drained footings that suit your ground. Set out a taut line, check levels, then dig to undisturbed subsoil, typically below topsoil and frost reach.
In clay, you’ll go deeper and wider; on chalk, you can often keep it shallower but still stable. Lay a geotextile if the trench’s silty, then add well-compacted Type 1 or hoggin in lifts.
Form a footing of mass concrete or limecrete to spread load, keeping it level and slightly proud for splash.
Build in drainage: a gravel strip, a perforated land drain to fall, and weepholes through the base. That’s Traditional techniques, with real craftsmanship details.
Lay Flint With Lime Mortar (Courses, Hearting, Pinning)
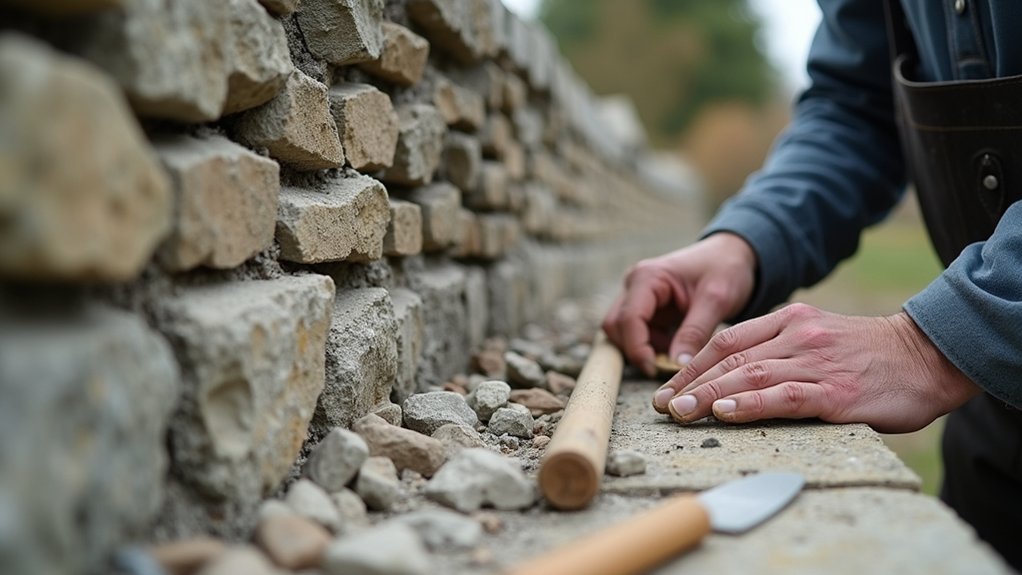
With your footings cured, level, and draining freely, you can start laying flint in lime mortar and bring the wall up in steady, controlled lifts. Bed each stone into Traditional mortar, then tap it home so it bites without rocking. Your Flint selection matters: mix face-ready knapped pieces with sound rounded flints, keeping similar sizes to maintain even courses and tidy lines.
- A taut line, clean arrises, and faces set slightly proud for later trimming
- Well-packed hearting of smaller flints, laid tight to stop voids and movement
- Pinning stones and thin chips driven into gaps to lock faces and keep level
Build both faces together, don’t run ahead, and keep joints consistent while you check plumb and batter.
Point, Cap, and Cure the Flint Boundary Wall for Longevity
Once the flintwork’s up to height and the mortar’s pulled in but not fully set, you need to point, cap, and cure it properly so rain can’t track through the joints and frost can’t prise the faces apart.
You’ll rake back any proud lime, then press in a stiffer pointing mix, finishing slightly recessed so flint arrises stay clean. Brush diagonally with a churn brush to close hairline gaps without smearing the faces.
For the cap, you’ll bed coping flints or bricks in fat lime, strike falls to both sides, and form a tight drip edge.
Finally, you’ll cure for Material preservation: mist in dry winds, cover with damp hessian and scaffold sheeting, and keep it shaded for a week. That’s Traditional craftsmanship that lasts.
Conclusion
You’ve taken the wall back to first principles: sound footing, proper drainage, and flint bedded in breathable lime. By dismantling in stages, saving and sorting each stone, then rebuilding with tight hearting, pinning, and clean pointing, you’ve restored strength without losing character. The lime-shelled coping and careful curing finish the job. Done this way, the boundary isn’t just repaired; it’s reset like a well-cut key, ready for weather and time.
About the Author