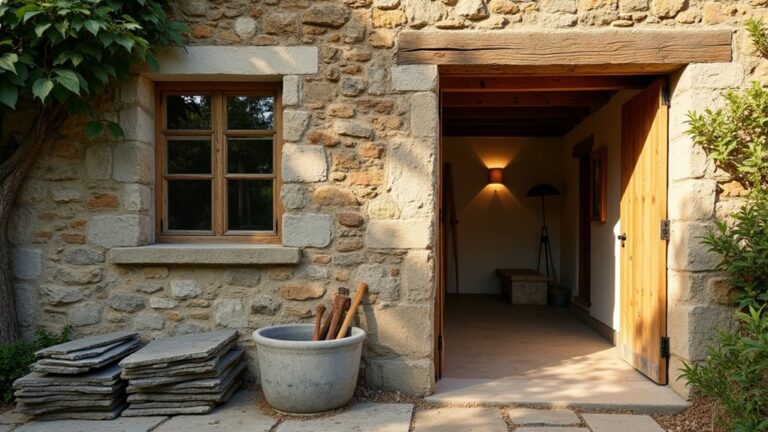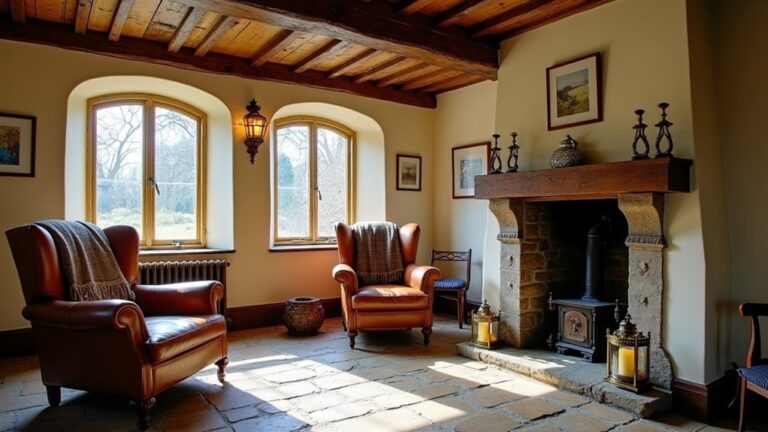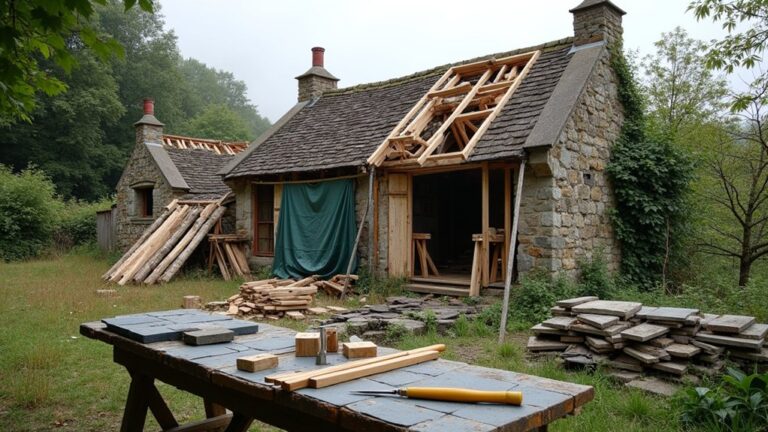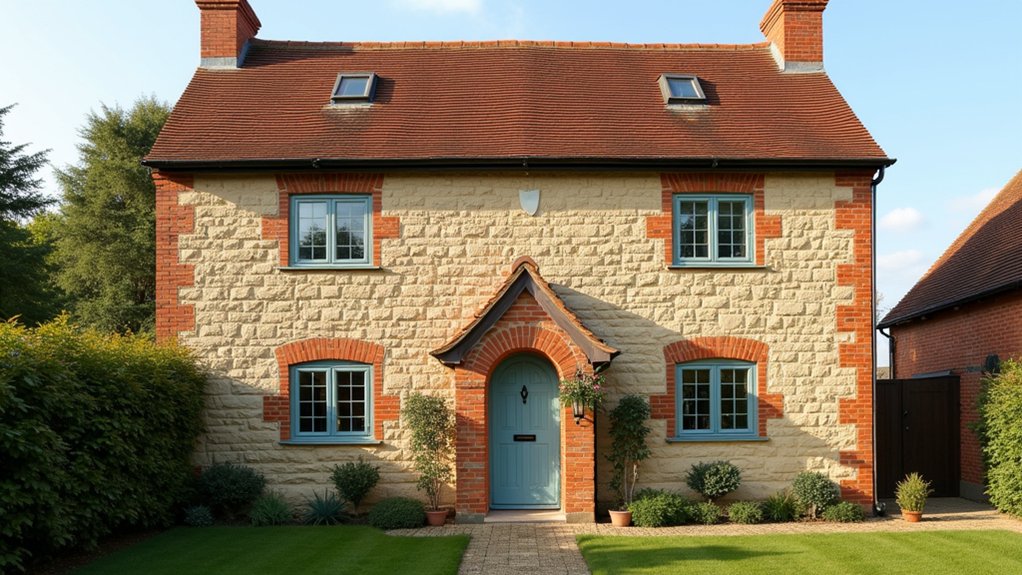
You’re rebuilding from the ground up, yet you’re aiming to make it look untouched. You start by checking planning constraints, then you choose the details you won’t sacrifice—roof pitch, eaves depth, window sizes, mullion spacing, and the flint’s surface texture. You photograph, measure, and tag everything before demolition so you can rebuild with matched flint, proper backing, lime mortar, and discreet ties. But one wrong decision can flatten the cottage’s character, and it usually happens when you least expect it…
Key Takeaways
- We documented every detail—photos, measurements, and fixed datums—so the rebuilt cottage precisely matched original proportions and quirks.
- We secured planning and heritage approvals early, aligning designs with local policies on roof height, openings, materials, and boundary treatments.
- We salvaged and reused flints, tiles, and joinery, rebuilding walls in controlled lifts with lime mortar to replicate historic texture and stability.
- We preserved the cottage’s silhouette by matching roof pitch, ridge height, eaves depth, and opening positions to keep authentic shadow lines and façade balance.
- We upgraded comfort discreetly using breathable insulation and hidden ventilation, avoiding altered reveals, new grilles, or modern details that dilute character.
Check Planning Rules Before Rebuilding a Flint Cottage
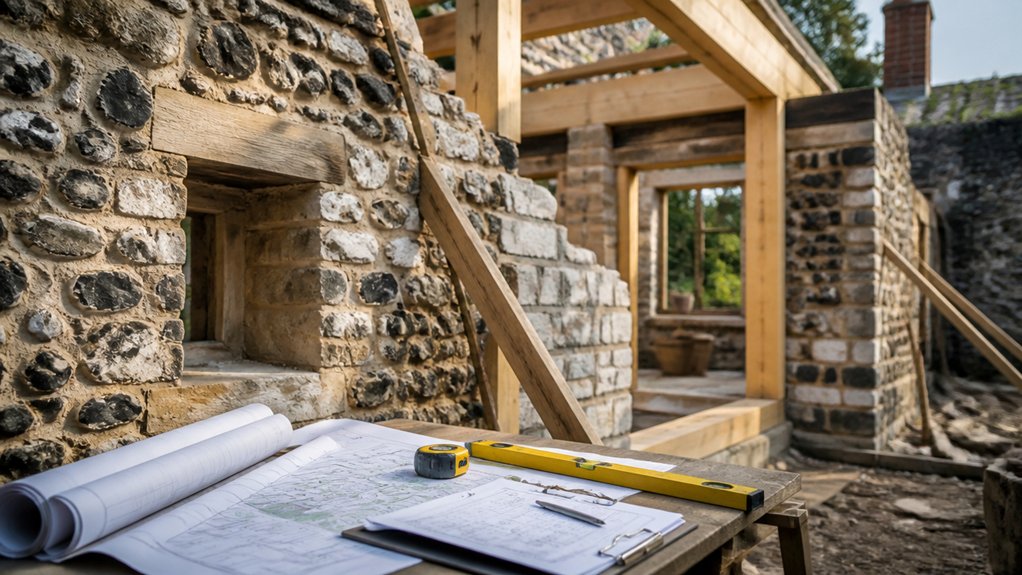
Before you lift a single flint or order lime mortar, check the planning rules that govern your cottage, because they’ll dictate what you can rebuild, repair, or alter—and how. Start by confirming listing status, conservation area controls, and any Article 4 directions that remove permitted development rights.
Then map what you propose against local policy: wall thickness changes, roof height, new openings, chimneys, and boundary treatments often trigger planning permissions. Ask the planning officer for pre-application advice and get requirements in writing, including heritage statements, method statements, and materials schedules.
Verify constraints from ecology, drainage, and highways early so you don’t redesign mid-project. Finally, sequence approvals before ordering lead times, and keep a compliance file with drawings, emails, and conditions.
Choose the Cottage Details You Won’t Compromise On
Although planning policy sets the outer limits, you’ll protect the cottage’s character by deciding early which details you won’t trade away when budgets tighten or contractors push for convenience. Lock in your non-negotiables: flint panel proportions, lime mortar colour, crisp knapped corners, and traditional brick quoins where they existed.
Keep window reveals deep, choose slim timber frames, and insist on a simple clay-tile roof with restrained eaves. Inside, let a Modern interior sit quietly behind heritage cues—plaster finishes, oak thresholds, and a fireplace position that reads as original.
Specify ironmongery, skirtings, and joinery profiles up front so substitutions can’t creep in. Extend the same discipline outdoors: landscaping design should protect sightlines, keep boundary hedges, and use local gravel and brick edging.
Record the Flint Cottage Before You Demolish
Before any demolition starts, you’ll photograph every surface—flint panels, lime mortar joints, openings, and interior finishes—so you’ve got an accurate visual record.
You’ll measure key architectural details like wall thickness, window and door reveals, hearth proportions, and roof pitch to lock in the cottage’s historic geometry.
You’ll also catalog materials and features, noting flint type and size, mortar mix, timber sections, fixtures, and salvageable elements so you can reuse or replicate them with confidence.
Photograph Every Surface
Once you start stripping back plaster or lifting a single flint, photograph every surface like it’s evidence—because it is. Shoot wide, then close: elevations, chimney breasts, window reveals, hearth stones, floorboard wear, door furniture, and every junction where old meets newer work. Capture light from multiple angles so texture reads: knapped flint faces, limewash mottling, soot shadows, and patched mortar lines.
Work room by room with a consistent filename system, and include context shots that show how spaces connect. Don’t skip Garden landscaping: boundary walls, paths, levels, planting edges, drains, and gate details. For Interior decor, record paint layers, skirting profiles, built-ins, tile patterns, and original fittings.
Back up the set twice, immediately, and keep a printed contact sheet on site.
Measure Key Architectural Details
After you’ve captured the cottage in photos, lock in the dimensions that photos can’t reliably prove—because a few millimetres can decide whether a repair looks original or “new.” Measure and sketch key architectural details in place: wall thickness at openings, flint-and-mortar coursing heights, window and door reveals, lintel spans, cill projections, hearth sizes, chimney breast offsets, floor-to-ceiling heights, skirting and architrave profiles, and any out-of-square corners that define the building’s character.
Work from fixed datums: mark a benchmark, then chain-measure elevations, openings, and roof pitches. Map the interior layout room by room, noting thresholds, stair runs, and sightlines.
Outside, set corners and window axes to understand landscape integration, ensuring rebuilt views, approach lines, and garden levels read exactly as before.
Catalog Materials And Features
Because flint cottages rely on subtle material cues as much as on structure, you’ll want to catalog every salvageable element and finish so reinstatement reads authentic rather than “re-made.” Photograph each elevation in raking light, then log dimensions, fixing methods, and patina notes for every item you can lift, clean, and reuse.
Tag pieces, map their original locations, and store them dry to prevent salt bloom and spalling. Record joins and mortar profiles so your mason can match lime mixes precisely while integrating Modern amenities discreetly.
- Flint panels: stone size range, bedding lines, mortar color, strike, and flush depth
- Joinery: door furniture, hinges, architraves, skirting profiles, paint stratigraphy
- Setting: boundary flintwork, paving, drains, and Landscaping options tied to sightlines
Rebuild Flint Walls With Traditional Backing and Ties
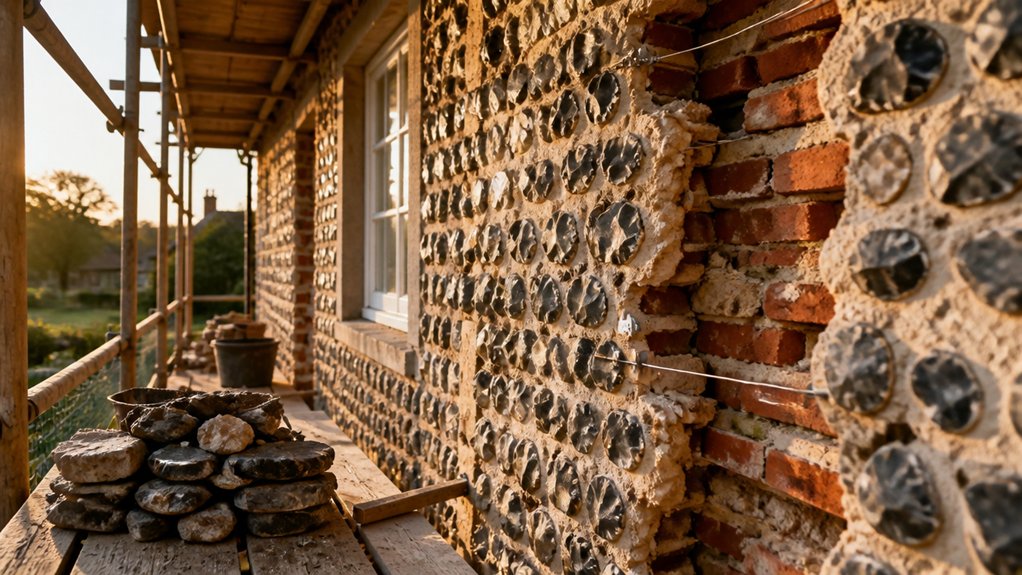
When you rebuild flint walls, you’ve got to treat the facing and the core as one working structure, not a pretty skin over loose rubble. For Historical restoration and Material preservation, you’ll salvage sound flints, clean them, and sort by size and colour so the rebuilt elevation reads as original.
You then rebuild the backing in controlled lifts, packing stone tight to remove voids and keep load paths continuous. Set through-stones at intervals to stitch outer face to inner mass, and bed stainless helical ties where you can’t use full bond stones.
You’ll align ties with bed joints, avoid cutting visible flints, and keep spacing consistent around openings. Finally, you’ll tool joints to match historic profiles, ensuring the wall locks up and stays true. Long-term stability follows.
Use the Right Lime Mortar to Avoid Trapped Moisture
How do you keep a flint cottage dry without sealing it shut? You choose Lime mortar that breathes, so moisture can move out through the joints instead of being forced into flints and backing.
Get the binder and aggregate right, and you’ll support long-term moisture control without sacrificing historic texture or repairability. Avoid hard cement mixes: they trap damp, accelerate salt crystallisation, and drive frost damage at the face.
- Match mortar strength to the stone: slightly weaker than flint and backing so joints fail first
- Specify vapour-open lime (often NHL 2/3.5 or hot-lime) with well-graded sand for capillary break and flexibility
- Cure slowly: protect from sun, wind, and frost so carbonation completes and pores stay open
Keep Original Proportions: Roof Pitch, Openings, Eaves
You’ll protect the cottage’s character by matching the original roof pitch, since even small changes can upset the historic silhouette and water-shedding performance.
Keep the eaves where they’re and maintain their depth so you don’t expose flintwork to harsher weathering or alter shadow lines.
Retain original opening sizes and positions wherever possible, because they lock in the façade’s proportions and help the building read as authentically traditional.
Match Original Roof Pitch
Why does roof pitch matter so much on a flint cottage? Because it controls the silhouette that makes the walls feel grounded, not top-heavy, and it protects the historic balance between masonry mass and roof volume. When you rebuild, you can’t “eyeball” it—you measure the original angle, ridge height, and span, then lock those numbers into your roof framing layout so every rafter line repeats the same geometry.
To deliver pitch consistency, you’ll:
- Survey existing gables and take multiple pitch readings along the run
- Set a fixed ridge datum and verify it against wall plate levels
- Build a full-size setting-out jig to test rafters before fabrication
That disciplined approach preserves the cottage’s profile and prevents a subtly modern, stretched look. It also helps planners approve details quickly.
Retain Eaves And Openings
Because flint walls rely on shadow lines and tight proportions more than decorative trim, you need to retain the original eaves depth and opening sizes so the cottage still reads as low, sheltered, and genuinely historic. Set out the existing soffit projection, verge thickness, and fascia line before you strip anything, then rebuild to those dimensions.
That Eaves detailing keeps rain clear of the flint and preserves the crisp band of shade under the roof.
Treat openings the same way: measure head heights, sill levels, and reveals, then hold them during structural upgrades.
With Window preservation, you keep mullion spacing, glazing bar profiles, and frame depth, even if you fit slimmer double glazing behind. If you must adjust, shift internally, not on the facade.
Add Insulation and Ventilation Without Changing the Look
Even if a flint cottage’s thick walls and lime finishes already regulate moisture well, targeted insulation and discreet ventilation can lift comfort and reduce heat loss without altering the façade, eaves, or interior character. You’ll start by surveying cold bridges at junctions, then choose Modern insulation that respects breathability and keeps reveals, skirtings, and hearths crisp.
You’ll thread Ventilation solutions through existing voids, not new grilles, so the rooms feel the same—just steadier, drier, and quieter.
- Fit vapour-open internal wall boards where you can’t change the external flint face.
- Upgrade loft build-ups with thin, high-performance layers while maintaining rafter depth and ceiling lines.
- Add demand-controlled extract and passive inlets hidden in joinery to balance airflow.
You’ll verify performance with thermal imaging and humidity logging.
Rebuild Mistakes That Strip Flint Cottage Character
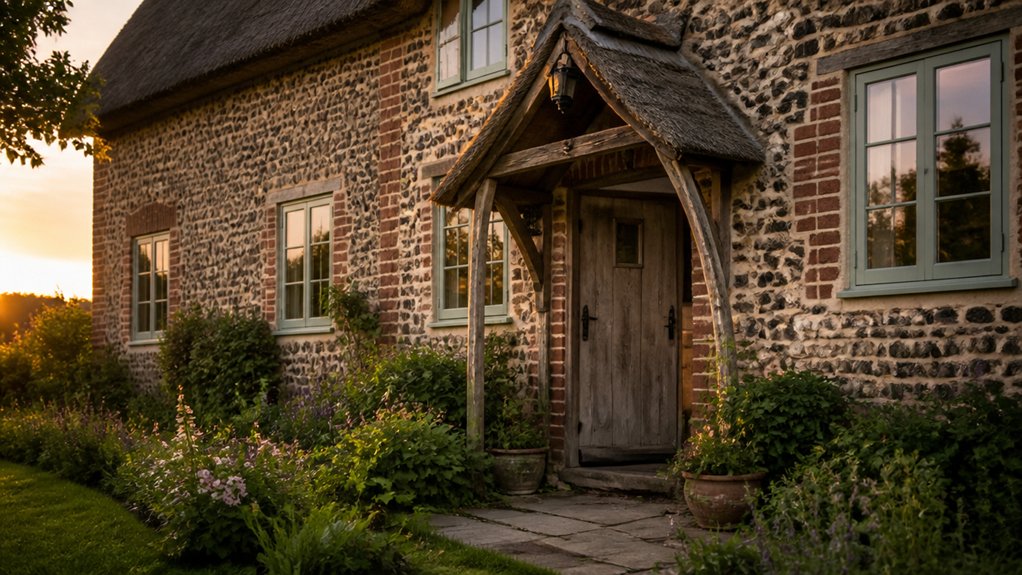
Once you’ve improved comfort with vapour-open insulation and discreet ventilation, the next risk comes from “rebuild fixes” that look tidy on day one but erase a flint cottage’s age, texture, and proportions.
You’ll lose character fastest when you straighten wonky lines, widen openings, or swap shallow reveals for deep, square new ones. Don’t smear flint with hard cement render, over-point with ribbon joints, or sandblast the face; you’ll flatten the sparkle and trap moisture.
You shouldn’t replace soft lime mortar with strong mixes, or you’ll force cracking into the stones. Keep Historical accuracy by matching eaves depth, window bars, and roof pitch.
Get Material sourcing right: reclaimed clay tiles, local flint, and lime putty that cures slowly. Document every detail before stripping.
Conclusion
Rebuilding a flint cottage can feel like performing open-heart surgery on history—you can’t afford a single lazy cut. If you’ve checked planning, chosen your non-negotiables, and recorded every mullion, eave, and joint, you won’t “rebuild”; you’ll resurrect. Set flints on traditional backing, tie them properly, and bed them in breathable lime so moisture can’t ambush the walls. Keep roof pitch and openings exact, then hide insulation and ventilation so nothing looks tampered.
About the Author