You start by checking whether the hut’s chassis and frame are sound enough to justify the spend, because a rotten base can swallow your budget fast. You note where water’s been getting in, price up ply, treated timber, EPDM or corrugated sheets, and plan guttering before you touch the interior. Then you think insulation, breathable membranes, and vents to stop condensation. Once that’s clear, you can tackle storage and finishes—but one detail will decide everything.
Key Takeaways
- We assessed restoration viability by checking chassis condition, historical details, and comparing full costs against buying a second-hand hut.
- We surveyed damage methodically, prioritising chassis, bearers, corner posts, roof leaks, and unsafe electrics or heating modifications.
- We built a realistic budget spreadsheet with UK quotes, delivery and VAT, plus a 10–15% contingency for hidden rot and repairs.
- We rebuilt the base and floor first, replacing rotten timbers with treated C24, sealing the chassis, and fitting 18mm WBP ply.
- We made it guest-ready by weatherproofing the roof, adding breathable insulation and vapour control, improving ventilation, and finishing with practical lighting and storage.
Decide If the Hut Is Worth Saving
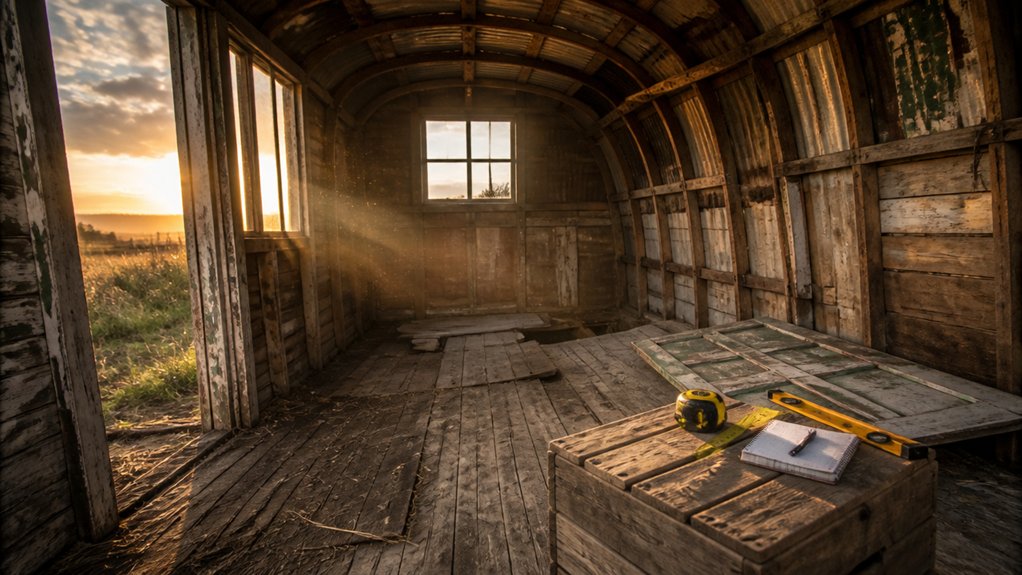
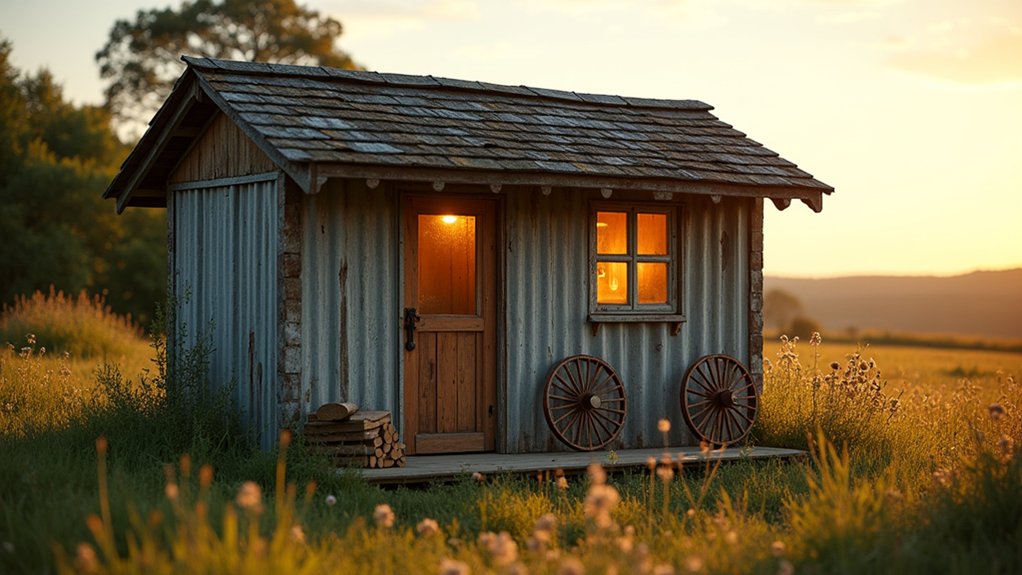
Before you spend a penny on paint or panelling, give the hut a hard, practical assessment to see whether it’s a viable base for a guest space. Work out what you’ve actually got: an original shepherd’s hut, a later site office, or a DIY trailer.
Check the maker’s plate, wheel type, and any parish history notes to judge Historical significance, because that can justify careful restoration over replacement. Price up the basics you can’t avoid—transport, storage, and permissions—then compare that total with the cost of a sound second-hand hut in the UK.
Think about community impact too: will saving it support local craft, reuse materials, and keep rural heritage visible, or will it become an expensive ornament? Decide with numbers, not nostalgia.
Survey Damage, Constraints, and Must-Have Upgrades
Once you’ve decided the hut’s worth saving, you need a proper survey of what’s rotten, what’s restricted, and what you’ll have to upgrade to make it legal and comfortable.
Start with the chassis: check drawbar, axle hangers, and wheel hubs for play, then probe floor bearers and corner posts with a bradawl. Note any wavy roof lines, failed felt, and rust creep under paint.
Respect shepherd’s hut history, but don’t romanticise unsafe wiring or bodged stoves; your guest experience depends on basics done right.
Map constraints too: access for a tow, siting rules, and services runs.
Prioritise must-haves:
- Structural timber repairs
- Roof re-cover and gutters
- Damp control and ventilation
- Modern electrics with RCD
- Safe heating and CO alarm
Set a Realistic Shepherd’s Hut Renovation Budget
Although a shepherd’s hut looks small, it can swallow money quickly, so set your budget by pricing the big-ticket essentials first and leave the pretty bits until the numbers work.
Start Budget planning with a spreadsheet and three columns: musts, shoulds, nice-to-haves.
Get Cost estimation from UK suppliers for insulation, windows/doors, electrics sign-off, plumbing, heating (electric panel, log burner, or LPG), and roof coverings, plus skips and tool hire.
Add delivery, VAT, and a 10–15% contingency for hidden rot and price rises.
Ring your local council about planning, permitted development, and whether you’ll need Building Control for services.
Decide early if you’ll DIY or pay trades, and set day rates before you buy a single tile.
Repair the Base, Frame, and Floor
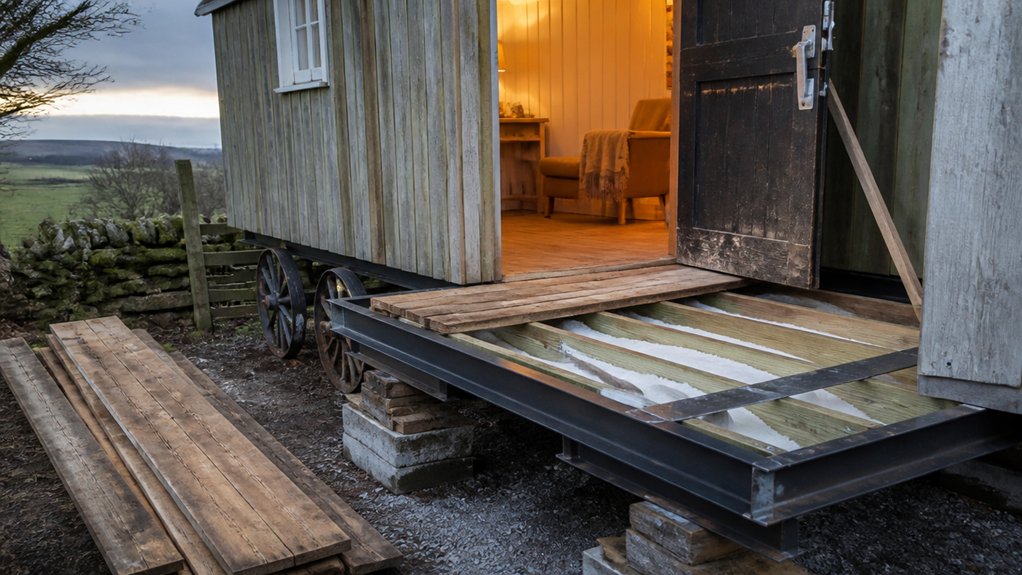
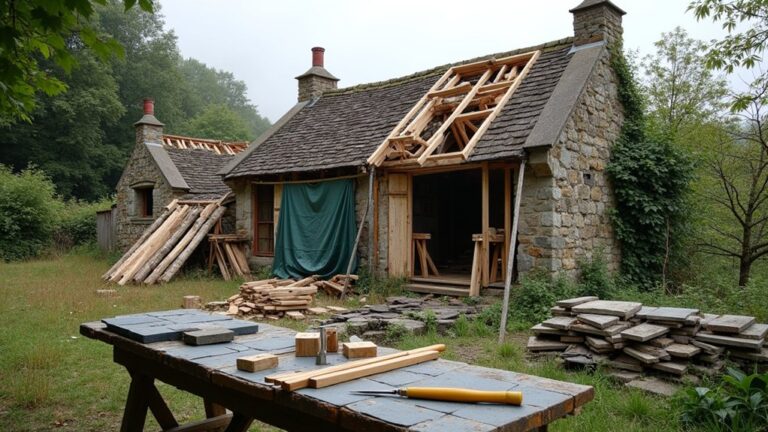
Now that your budget’s pinned down, put the first chunk of it into the parts that stop the hut twisting, sagging, and pulling in damp: the base, chassis/frame, and floor. Start underneath: jack it safely, then check axle mounts, outriggers, and crossmembers for rot or cracked welds. Spend on steel, fasteners, and a decent rust treatment before you think about Decorative lighting or Exterior paint.
- Level the bearers on paving slabs; pack with slate, not random offcuts
- Replace rotten timbers with treated C24 and galvanised brackets
- Wire-brush, prime, and blacken the chassis; seal bolt holes
- Re-sheet the floor with 18mm WBP ply; glue and screw every 150mm
- Add a service hatch and conduit runs now, while it’s open, neatly
Weatherproof, Insulate, and Control Condensation
Before you close up the shell, make the hut watertight and breathable in the right order: stop bulk water getting in, then insulate, then manage the moisture you’ll create by cooking, showering, and sleeping.
Strip back failed sealants, prime any rusted steel, and reseal roof laps with butyl tape. Then add a breathable membrane under new corrugated sheets to keep the garden aesthetic.
Fit proper drip edges and new guttering so water sheds clear of the chassis.
For insulation, use PIR between studs where you can keep a continuous vapour control layer, but choose sheep’s wool in awkward bays to suit historical preservation and reduce cold bridging.
Tape all joints, then add a small roof vent and trickle vents, plus a low-watt dehumidifier for winter weekends.
Fit Out the Interior With Storage and Cosy Finishes
Once the shell’s dry, insulated, and ventilated, you can start the interior fit-out by locking in built-in storage first, then layering warm finishes that won’t steal precious floor space. Keep everything shallow, robust, and easy to wipe down after muddy boots. Use 12mm ply carcasses and lipped shelves so nothing rattles on tow roads, then face it with budget tongue-and-groove for cabin charm.
Aim your interior decor at practicality: light colours, durable paint, and washable textiles.
- Bench seating with lift-up lids for bedding
- Overhead lockers above the bed, not at head height
- Slimline coat hooks and a boot tray by the door
- Vinyl plank floor (DIY-friendly, warmer than tile)
- Lighting design: warm LED strips plus a reading sconce on a dimmer
Finish with thrifted wool throws and a draught excluder.
Conclusion
You stand back, knuckles raw, and wonder if it’ll ever feel like more than a patched-up shell. But the real test comes quietly: the next downpour. If the new roof, guttering, and breathable layers hold, you’ve beaten the damp on a tight UK budget. You’ve rebuilt the chassis and floor, packed in PIR and sheep’s wool, and hidden storage where space is scarce. Now you wait—then step inside, and it’s warm.
About the Author